
It’s been a while!! (Approx 1 week). But that’s a while. And I just blew a ridiculous £41 on Anastasia Beverly Hills new eyeshadow palette. I gotta say, it is divine and so gorgeous but my bank account is so sore. It even laughs at me by sending me text messages reminding me how little money I have. I’m not focussing my blog post on this today. I’ll write about that tomorrow in more detail. For now, it’s a product breakdown on my generic, go-to products!
Moving on – get a brew, make sure you’re in your PJs, and ensure you have about an hour to read this. Queue the LONGEST blog post I have ever written in the history of blog posts. I might use up all my WordPress storage after this and actually have to start paying for a hosting domain. Bummer.
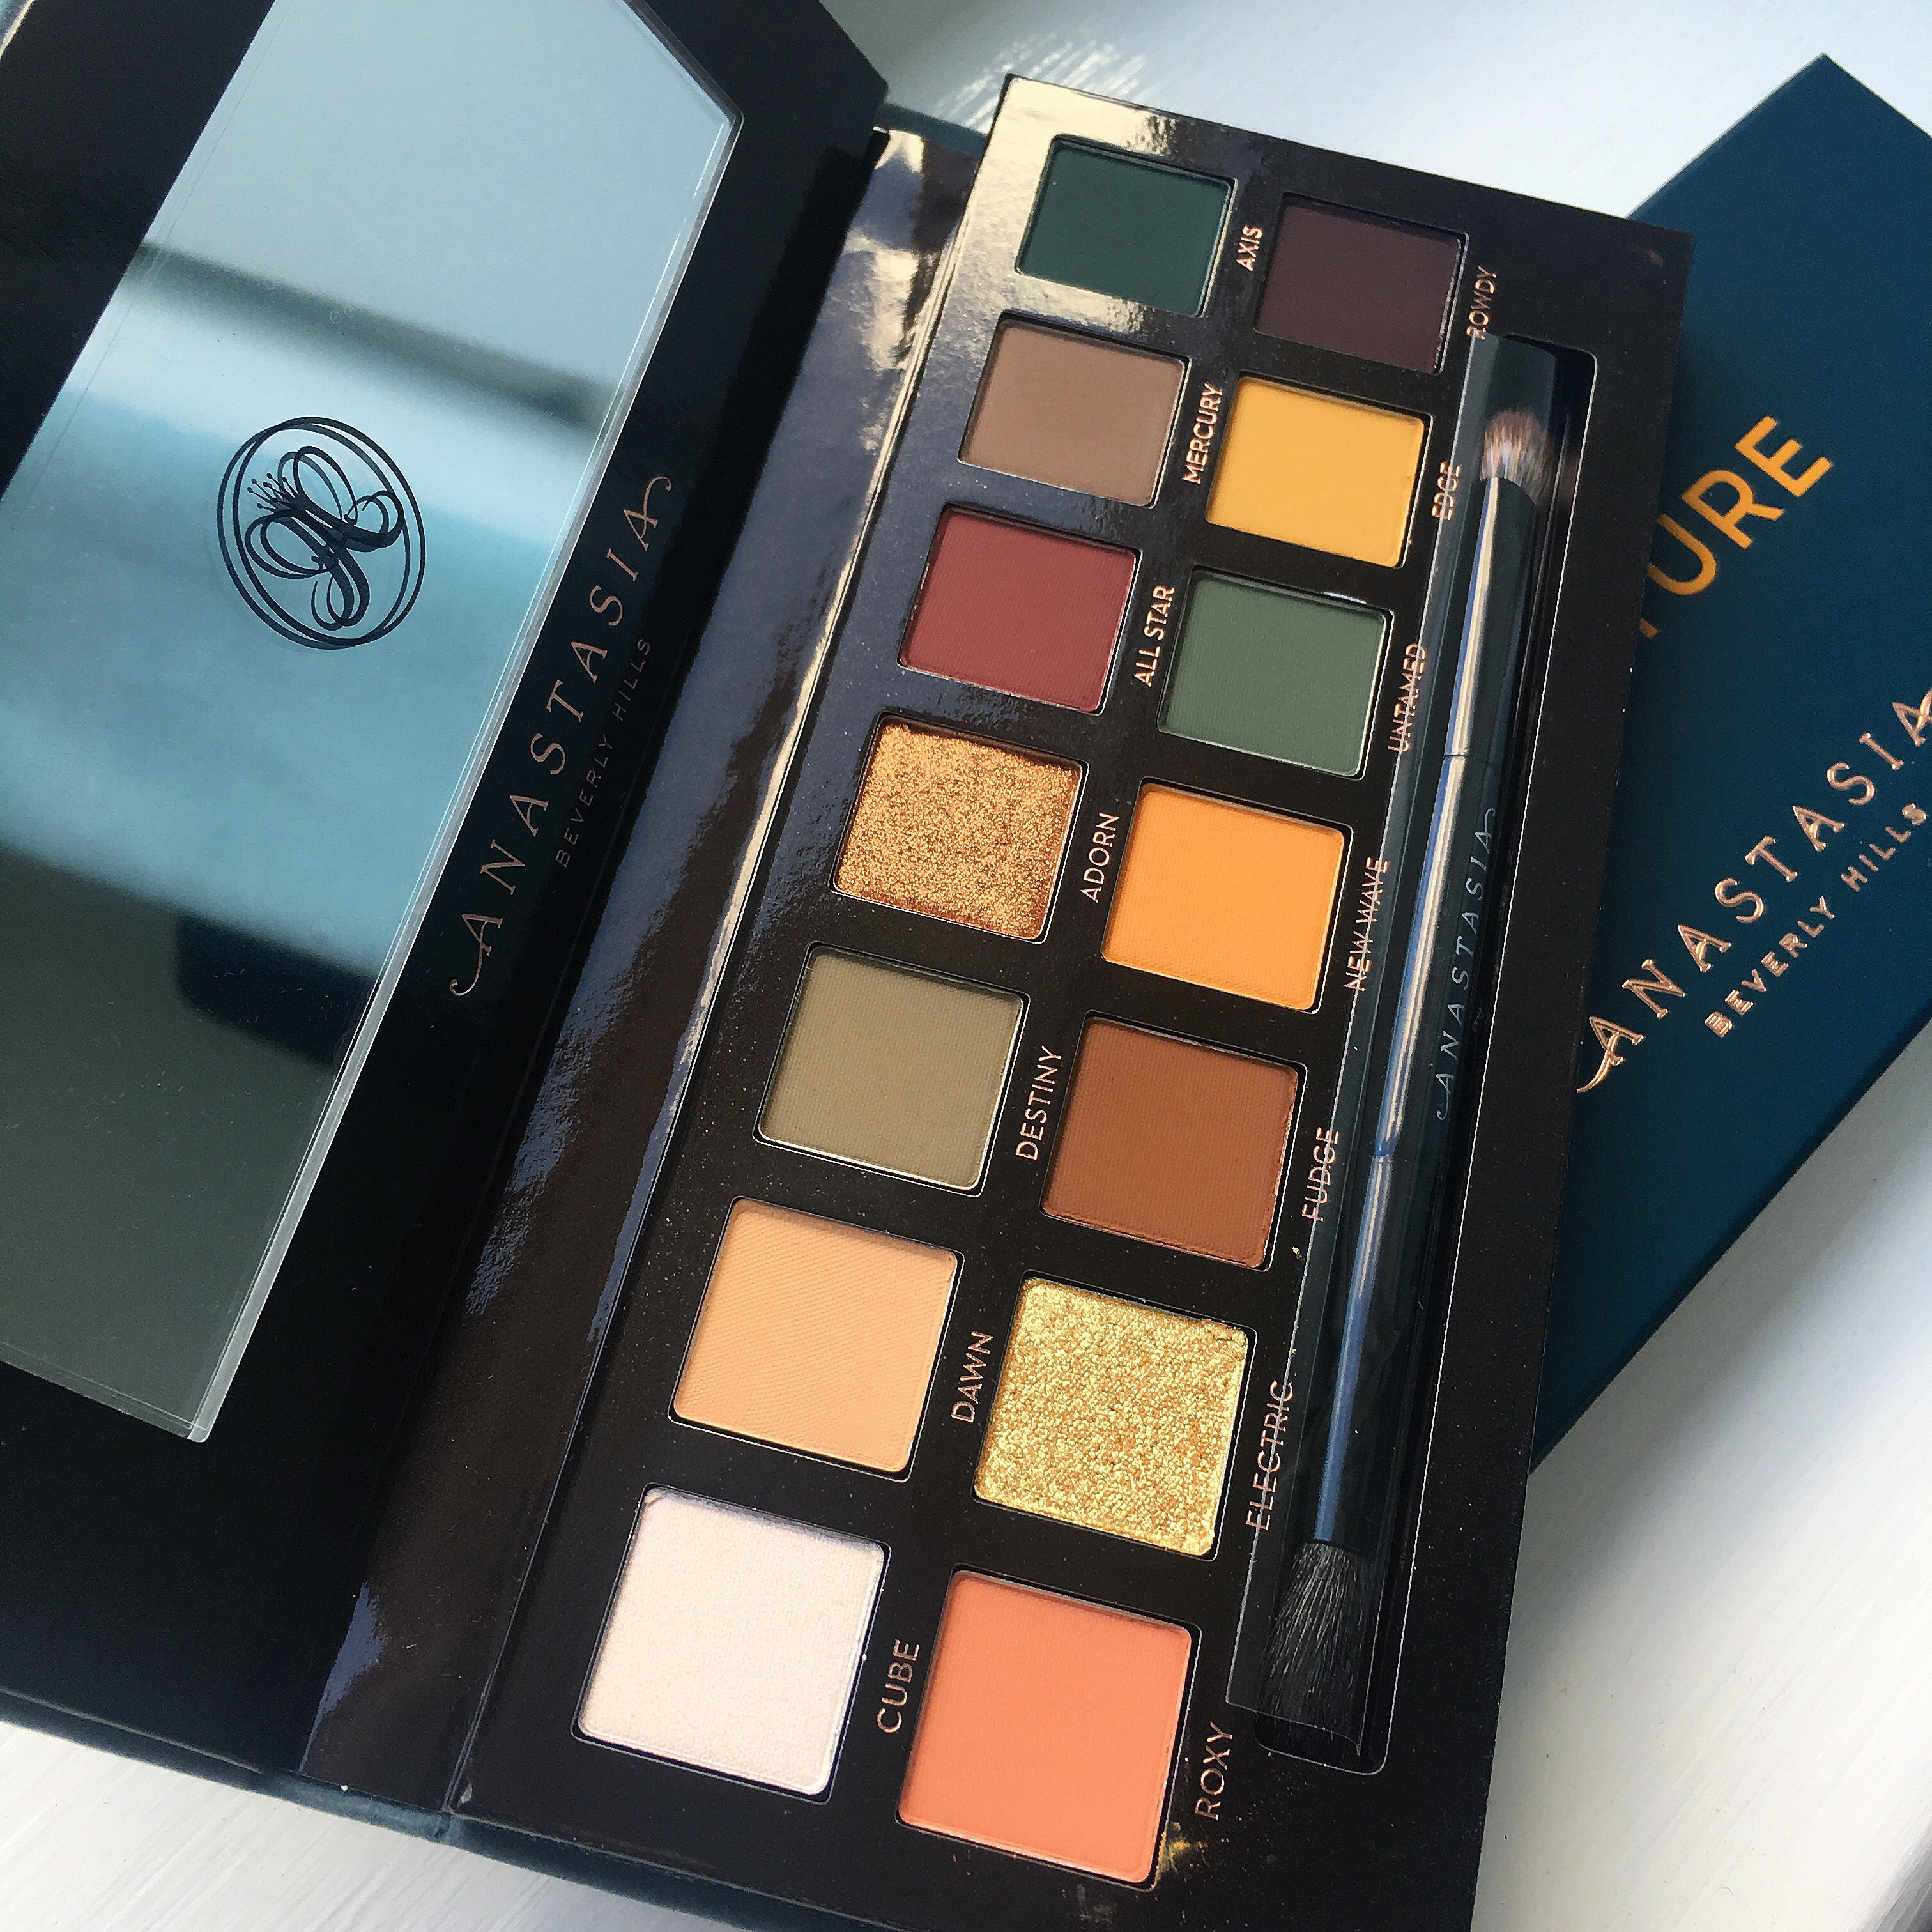
So, yesterday I created my first look with the stunning Subculture palette. Following my super speedy time-lapsed video, I wanted to do an actual full product breakdown of the entire look. I think you will all appreciate it because I have never done this before and I frequently get messages to ask me to do one. I will detail all products with pricing and links to purchasing the products too. So kick back, relax, it’s about to begin.
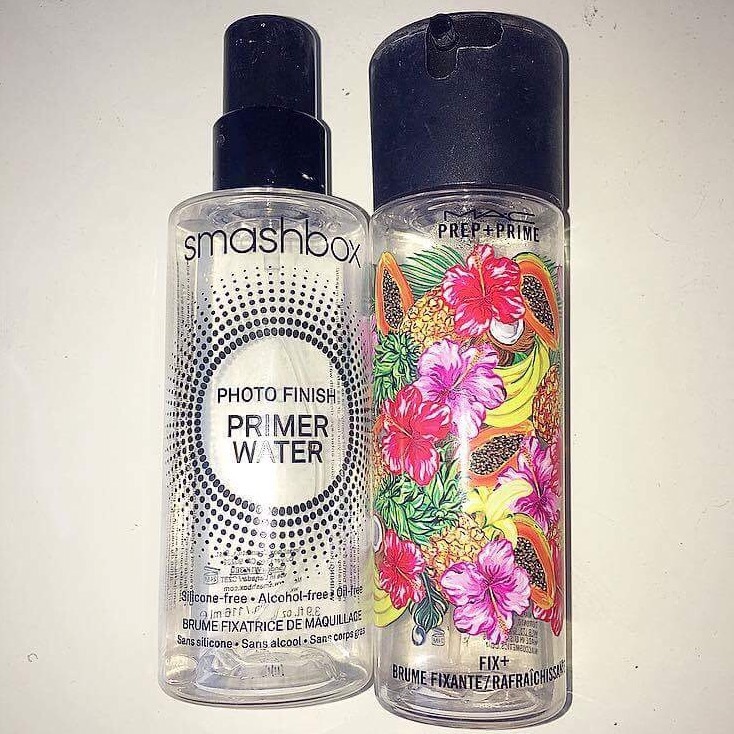
These two sprays are my ultimate go-to sprays. I actually use these as primer. I spent years purchasing expensive primers like Laura Mercier at £31 and Smashbox at £25 and I got fed up because no one see’s it????? I know it is the root cause to a face of astonishingly well-set makeup, but cmon? £30? Die. So, I begin with the MAC Fix+ Prep and Prime Spray. This spray is phenomenal. I do not know how it works. I spray it approximately 6 times: over 1 cheek, 2 cheeks, fod, chin, first eye, second eye. It smells incredible and I don’t think my makeup has ever cracked. EVER. People have even asked me on nights out in toilets how my makeup is still in tact. You know how nice girls are in toilets in clubs. Compliment the heck out of everyone even if you don’t mean it. Toilets bring out the nice side to everyone you know. Anyway, Smashbox Spray is still amazing and cheap too, but it is not as good as the Fix+. I notice cracks, greasy spots and patchiness. The Fix+ is my go-to spray but the Smashbox primer is always a good idea if you’re poor.
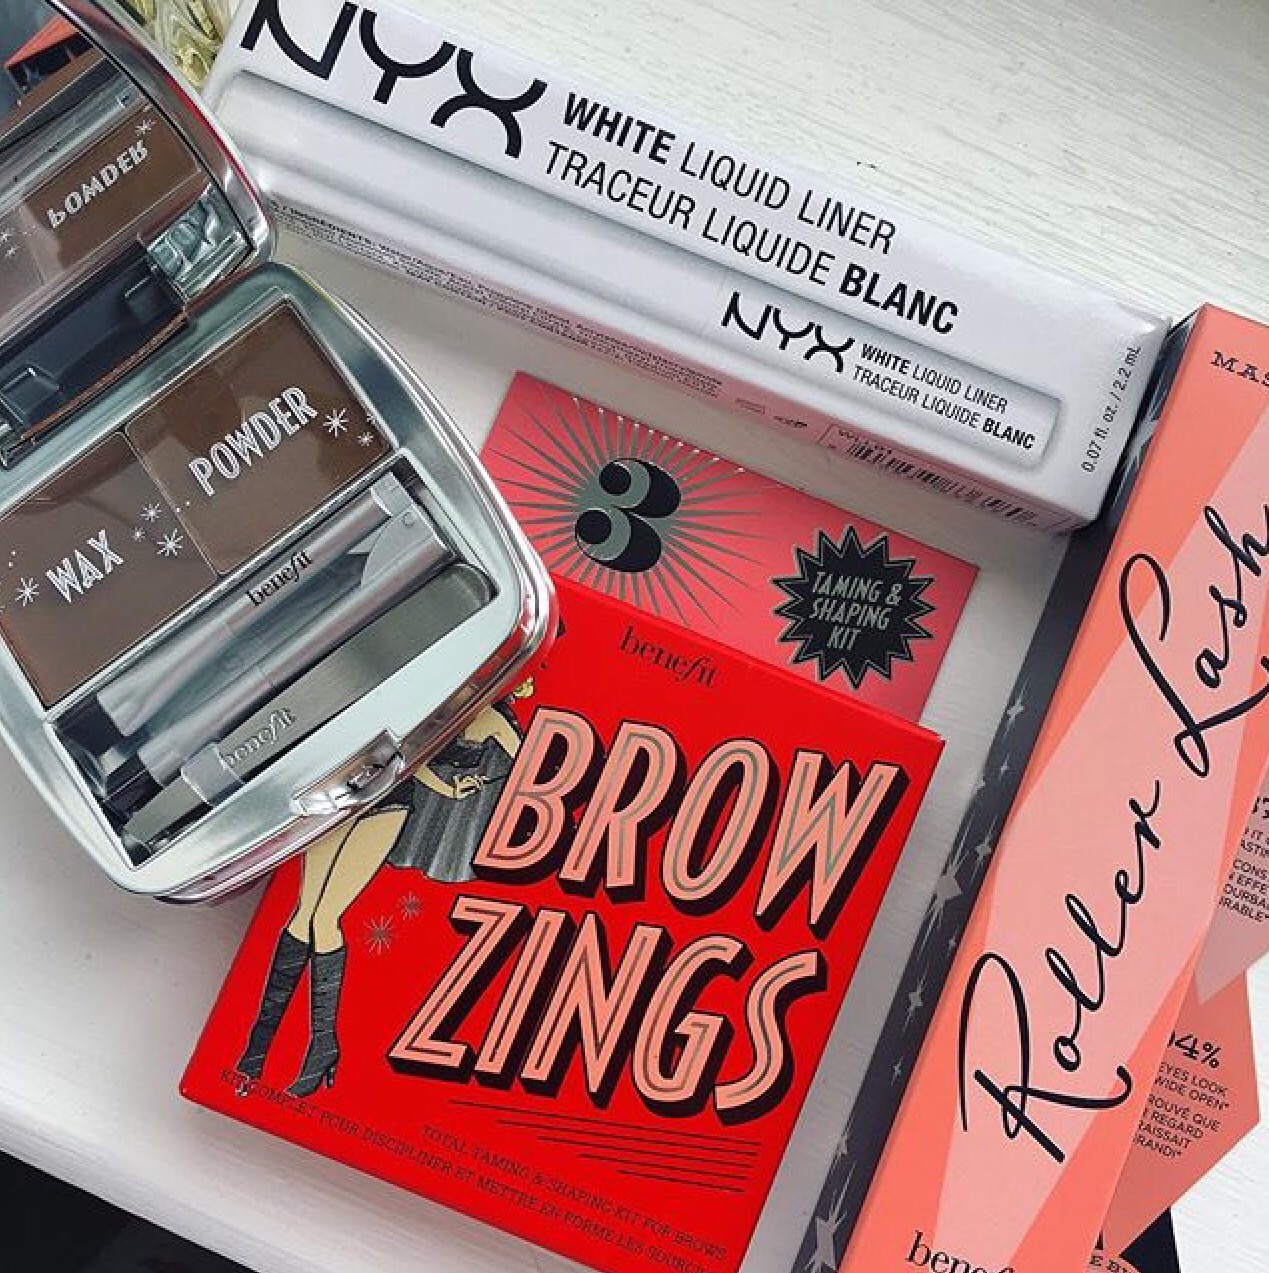
I begin with my brows before I do anything else. This is my recently bought brow product which is my new absolute favourite, Brow Zings. It’s funny because I don’t even bother with the dry ass powder I just use tonnes of the wax and then complain when it’s run out. The wax is incredible. You’re supposed to define the brow with the creamy, sleekness of the wax and then fill it in with the powder. I don’t like full, dusty powdered brows. I’m swaying more towards natural ones now. Once applied, I tidy everything up with concealer.
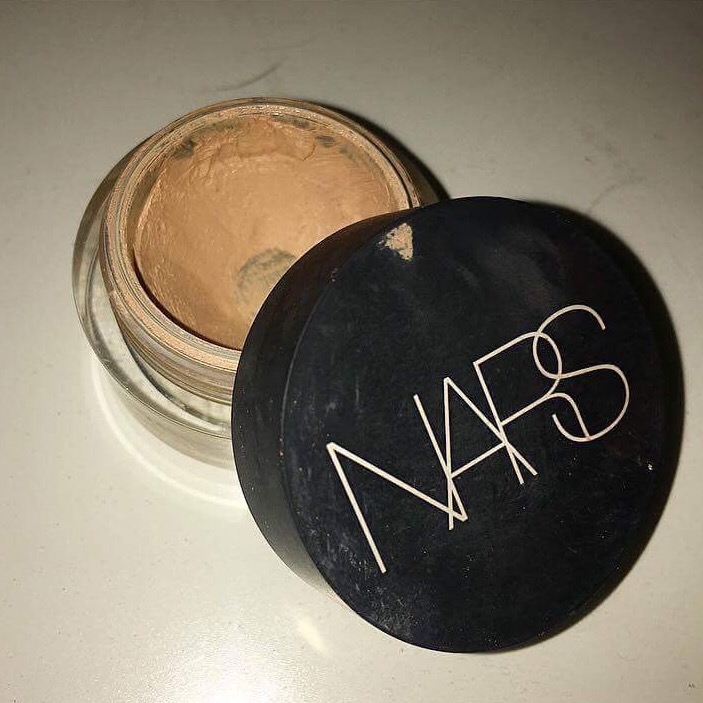
Beautiful. Creamy. Delicious. This concealer is a life changer for me. After three years of using that shite NARS creamy concealer that dries up after 2 weeks, they produced this specimen: the creamy concealer IN A POT. Well done NARS, you really did it. I apply concealer under my foundation. It conceals my acne scars and breakouts better.
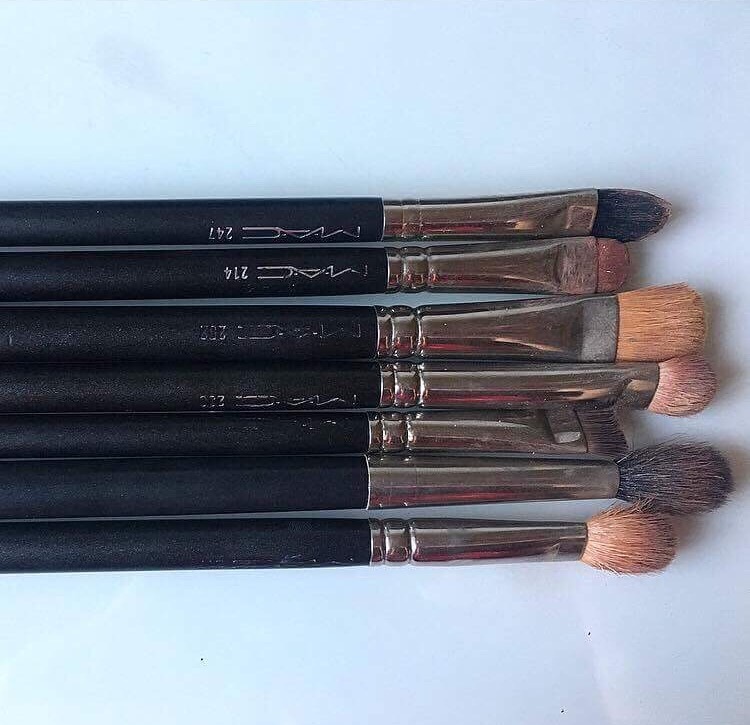
My poor babies. They’re so tired and they’re dying but so is my debit card and I can’t afford to replace you. I have had these brushes since 2013. They have been all I have used for every single eye makeup I have ever produced. In order, I will tell you their number and purpose (my purpose, not the defined purpose). They are all from MAC Cosmetics.
247: This brush I use to tidy up my eye makeup with concealer. Once I have done all my shading and colouring, I use this brush to apply concealer all over the lid to give it that sharp, clean appearance before the application of glitter / pigments.
214: I use this brush for application of cream-based eye shadows. It has the same dome shape to it as the 247, which makes it a very good fit for your eyelid when applying the shadows. It also prevents you from screwing up the concealer you’ve just done. I use the Tom Ford Sphinx cream shadow with this brush. It’s a very creamy product, requiring a brush which can control it.
252: This is my favourite brush for highlighting. I usually drip this brush with the MAC Fix+ before use. The Fix+ is in simple words, a pigment magnifier. Put the Fix+ with any eyeshadow (glitter not mate) or any highlighter and the pigmentation is surreal. This brush is used for brow bone highlighting and all over the lid highlighting.
239: These next three brushes are the first ones that I began with. They’re the ones I use in every look without a doubt. I cannot live without these brushes. My crease brush, oh how I love you. Once applying a basic colour all over the crease, this is used to achieve that extra dimension with a darker shade. It’s blending abilities are extraordinary and it is such a great tool to have. I recommend it wholeheartedly.
212: This brush is for the waterline. I don’t use eyeliner on my waterline, I actually use eyeshadow. I find eyeliner smudges and just disappears like literally evaporates after my night out???? My eyeshadow seems to stick well. This tool has a natural ability to blend blend blend. It is fantastic at achieving that gradient appearance under the eye.
224: This brush is what I use for crease blending. You cannot create a good eye makeup look without this tool. Even Amrezy praises this brush wholeheartedly. It is used solely for the crease and blending out the unblended.
217: This brush is similar to 224. However, I can never use this for blending near the eyebrow. It’s simply too harsh of a brush and so I use it for blending closer to the lid, in the corners and along the eye socket bone.
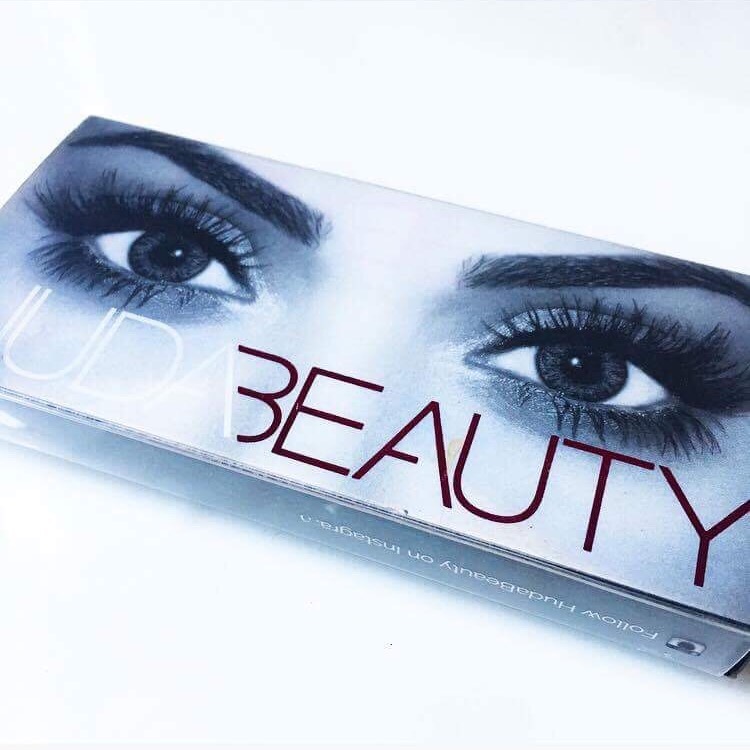
Just so you know, these lashes are 15 months old. And still being used. Huda Beauty lashes in LANA.
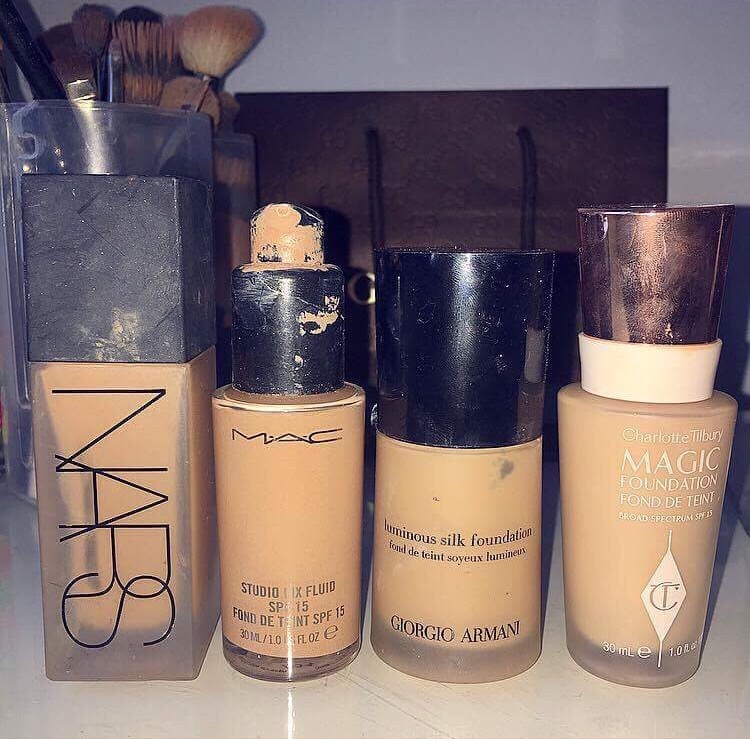
These foundations are my four foundations that I use. Starting from the left to right is my darkest, party foundation to my most natural day foundation. NARS All Day Luminous, MAC Studio Fix Fluid, Giorgio Armani Luminous Silk and Charlotte T Magic. The NARS Foundation I have found to become quite oily on my skin, so now on nights out I have swayed towards MAC as it seems to be much more firm. They both give an excellent coverage for a night out. The Armani foundation is low coverage but excellent on the skin. When I was on roaccutane this foundation was absolutely flawless it genuinely looked like I airbrushed my skin. Perfect. The CT Magic foundation is thick coverage. You do not need a lot of this at all. I also find spraying my foundation brush with the Fix+ helps this foundation spread a lot easier.
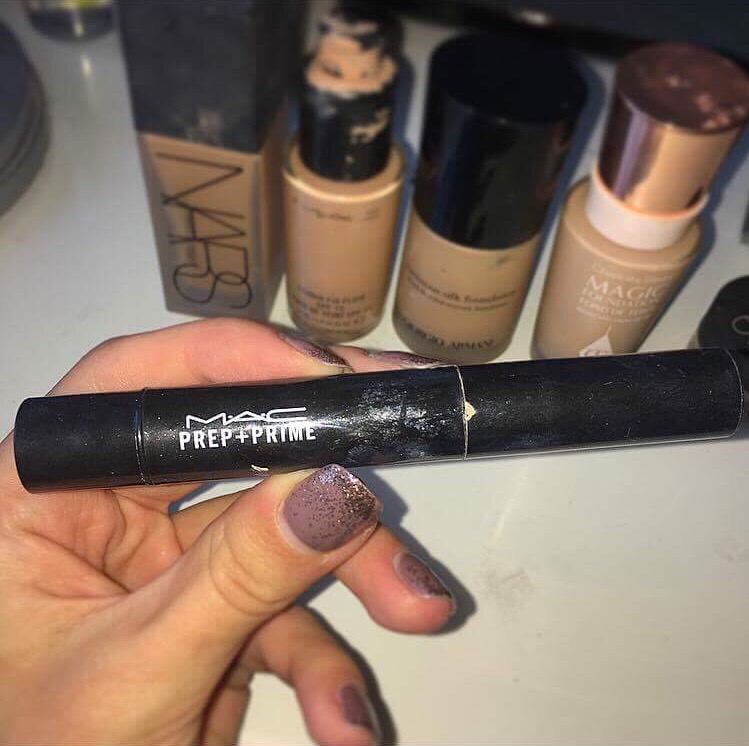
This is the yellow substance that I apply on my under-eyes and chin. All the high points and areas of your face you should apply this too and then use the beauty blender to dab it in. It’s a fantastic matte highlighter which truly brightens under your eyes and your entire look. It’s incredible and I cannot live without Lightboost by MAC Prep+Prime.
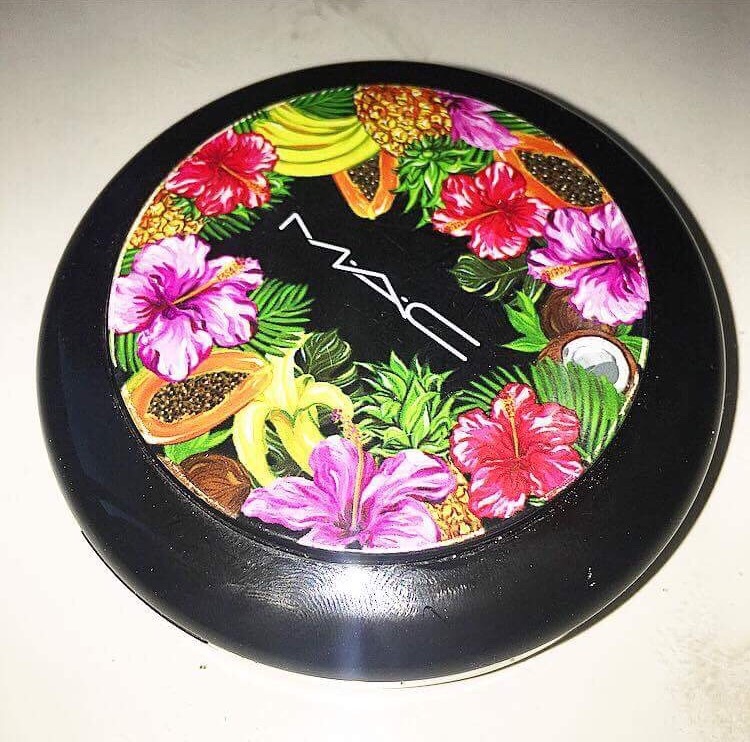
My Bronzer is MAC. Unfortunately, it is limited edition and isn’t around anymore. This bronzer is glittery and provides a real summer glow to the skin. It’s also not orange at all it is brown and this is what I look for in my bronzer. There is nothing worse than bright orange bronzer. This is so natural and really compliments the skin.

My gorgeous blushers. NARS Orgasm and MAC peaches. NARS is more pink and glittery as it is pigmented with little gold tints. However, the MAC blush is matte and very peachy. I like them both but I prefer using NARS on my checks and MAC over my bronzer to appear more flushed and peachy.
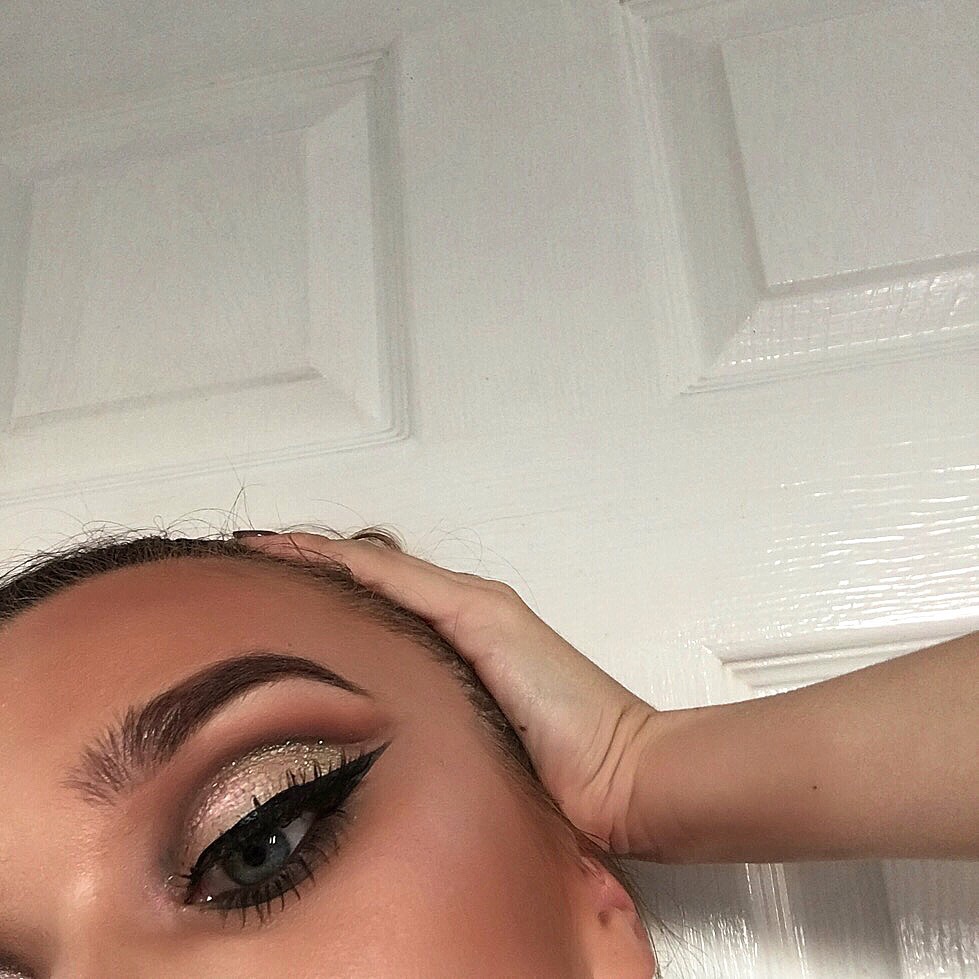
SO, there are other products like my mascara and eyeliner but it would make my blog boring and monotonous if I carried on with stuff like this. I don’t like doing product breakdowns because it makes my blog so cluttered but I thought it would be nice to share with your all the products I use on a day to day basis. If you have any queastions, just ask me. If you haven’t already done so, head over to my Instagram and check out my video and my recent posts. I will be doing a better blog post tomorrow solely on ABH Subculture palette and how those looks turned out. For now, here’s a preview on how the look turned out.


1 Comment