Hi all! It’s been so long and I literally have no excuse as to why I’ve been so inactive for the last quarter of 2017! BUTTTT it is now 2018!!!! Hello New Year! Hello New Challenges!
So, my New Years resolution is to be more active. I have so many creative ideas in my head that I love to write down and create, but I am lazy. I’m going to admit it I am so so lazy! And I can’t help it. It’s a bad trait that I hope to shake this year and I need to put more time and effort into what I love.
First of all, these next few weeks I will be doing product break down and reviews of recent looks that I have not yet blogged about! For now, here’s a product breakdown of my New Year makeup! But just of the face because I think the eyes aren’t that important for this look. I want to talk about application. That’s what this blog post is going to be about! The application of makeup is the most important part of makeup. Why do you think so many makeup artists are better than me? Or are you not as good as someone you aspire to be like? I truly believe application is key. We could all use the same products. Apply one with your fingers and apply one with brushes; there will be a big difference.
First of all, here’s the full product breakdown in order of application.
- The Ordinary Rose HipSeed Oil
- MAC Fix+ to prime the skin
- NARS Illuminator applied all over in Shade Copacabana
- NARS All Day Luminous Foundation in Shade #Barcelona
- NARS Matte Concealer in Shade #Custard
- Charlotte Tilbury Beach Stick in Shade #Ibiza
- MAC Prep+Prime LightBoost for under eye highlight
- MAC Fruity Juicy Bronzing Powder in Shade Refined Golden
- NARS Orgasm Blush
- MAC Mineralise Skin Finish in Shade #Lightscapade
- MAC Extra Dimension Skin Finish in Shade #ShowGold
- Chanel Illusion D’ombre #Fantasme (this is an eyeshadow but I use it on the cheekbone)
- Laura Mercier Loose Setting Powder
So, I want to begin with the basics. I spray the Fix+ evenly across my face as a primer. I then do my eyebrows with my chosen eyebrow product, conceal around the brows, and then blend the concealer down to my eyes. I then go on to apply my eyeshadow, liner, lashes and waterline eyeshadow. I leave the buffing out of the waterline until all makeup has been applied. I do the black waterline first so that no black product falls onto my face.
I apply foundation with one even coat. I use MAC 187 Fibre Brush and then apply my desired concealer after my foundation. I do this with a beauty blender all across the ‘sag’ of my eye as I call it. Okay so I am sure there is a technical term for it but I really have no idea. The sag is the triangular area under my eye. From the tear duct, to where my cheek is most prominent and chubby, and then to the outer corner of my eye. I apply concealer thickly in this area and blend out with a beauty blender. I continue to then use MAC Prep+Prime Lightboost by applying this product just above both nostrils on the under eye. I don’t like to apply this directly under the eye as I believe the brightest and most vibrant area of the eye should be realistic. Plus, the product is very creamy and blend-able so can be blended up towards the eye anyway. The product itself is a brush with a twisty bottom that oozes the product out into the brush; therefore, the application is through the product itself. It’s such a fabulous product that I use religiously.
Once under eyes are highlighted, I set them with Laura Mercier Setting Powder. I do not take this product out onto the cheek bone. You want the cheek bone to be tacky for highlighter to stick onto it for later! I then took the CT Beach Stick and applied this into the most shadowed areas of my face: cheeks, forehead, nose and chin. I then used my finger in small circular motions to blend the creamy product. This product is beautiful: so glittery and creamy and golden. Perfect for a base before powder application.
Using Zoeva Contour Brush, I take my bronzer in circular and dabbing motions. Bronzer is not to be a stripe down your face in a front-back-front-back motion. Bronzing needs to be built up gradually in gradience. To get that dark to light appearance to make your cheekbone appear prominent, you must apply more product to the cheekbone near the hairline, and then blend it out towards the bottom of the cheekbone without adding any extra product. Your brush carries enough excess product for you to complete the look without applying more. Only apply more to the hair line part of the cheek bone and then blend it down towards the bottom. But this is just my personal preference!
Once bronzer is applied, time for HIGHLIGHTERRRRR!! I go in with lightscapade first. You need to picture your highest point of your cheekbone as a reflection of light. The middle of your cheekbone or the highest point must be the shiniest and most pigmented. This is where the most product is applied because it gives your cheekbone that sharp, distinctive appearance. This is why I use the Chanel eyeshadow as a highlighter. It is literally a powder glitter and very creamy and fluffy. Once you apply your own highlighter with your desired brush, this product is ideal for the centre of your highlight. Only a tiny amount is required and I actually use my finger or a lip brush to apply.
FUN TIPS:
- Use MAC 224 brush for highlighting. Although this is an eyeshadow blending brush, the precision is ideal for targeted and controlled highlighting.
- Use the Fix+ to gain extra pigmentation. Use the Fix+ on eyeshadow brushes to get thick, bright pigmentation from dry eyeshadows. This only works for glitter shadows NOT MATTE.
- Use the Fix+ for your highlighting brush to really make that highlight POP!
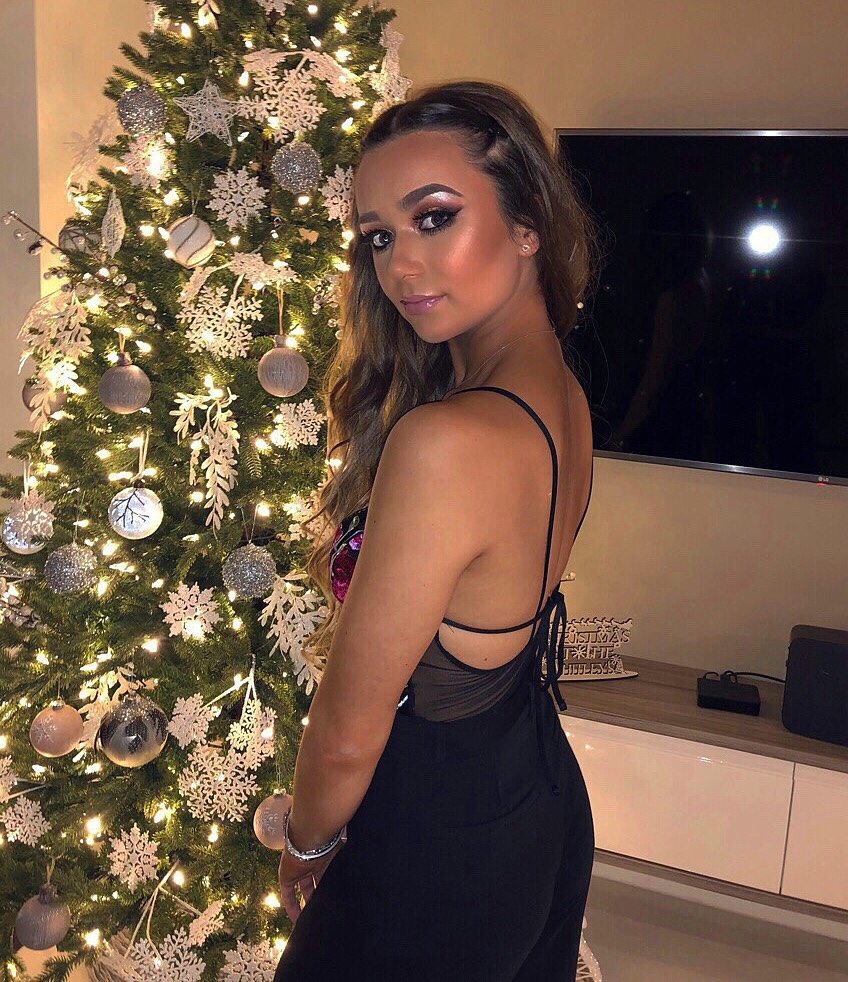
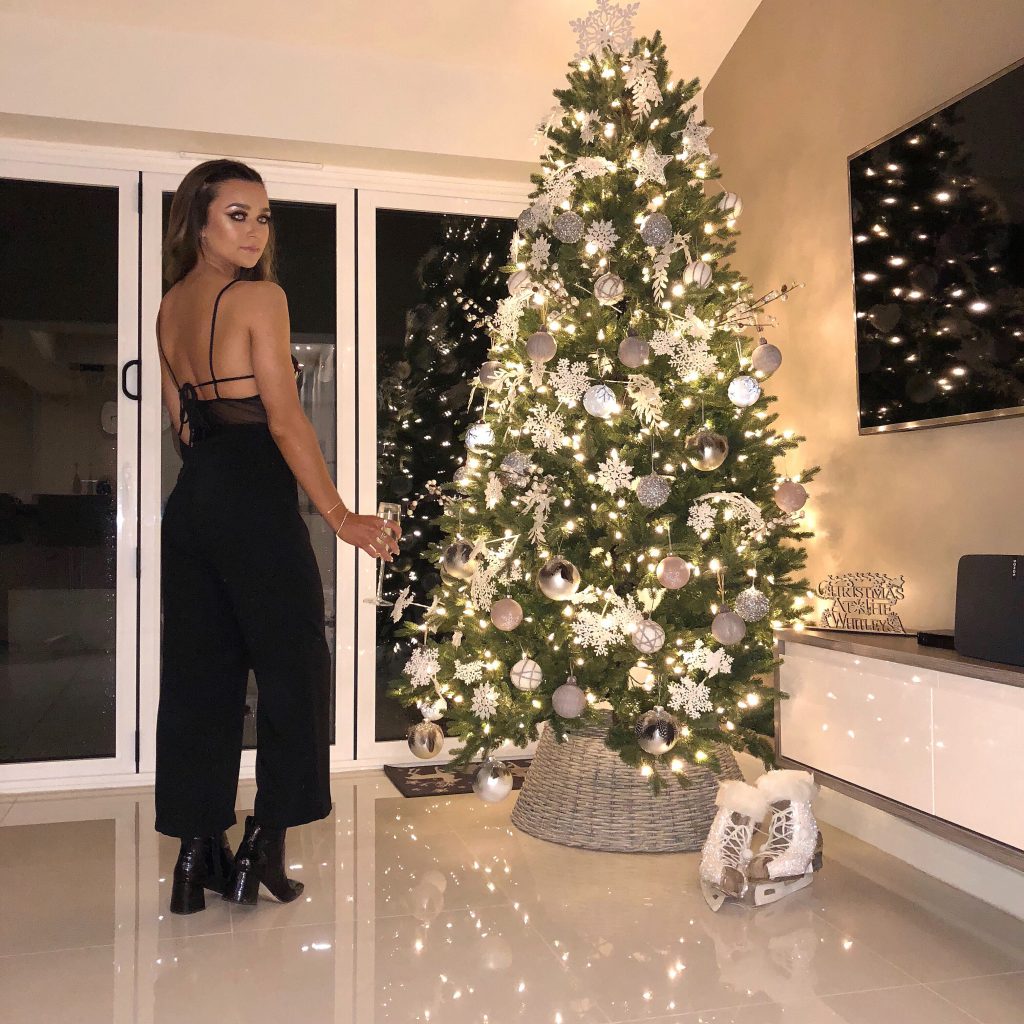
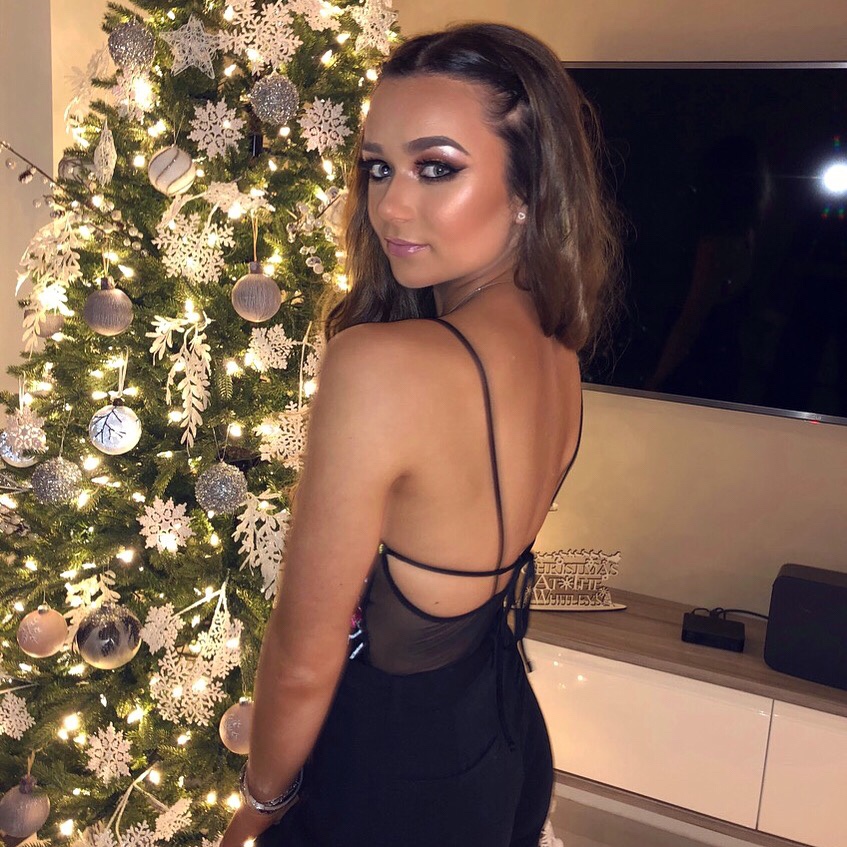
So, here is the final look! And also guys here is to 2018! I am so so excited for this year. I just want to take this time to thank absolutely everyone who supported me when I was too scared to start showing off what I love to do. Makeup is a big BIG part of my life and I really think without teaching myself over and over how to do it, I would never have the confidence in myself that I have today. And I am thankful I have endured acne so severe because without it I would not have been lead down the path to practise makeup. And I am thankful I have a boyfriend who pushes me to do makeup more and more and not give up. And I cannot thank @antoniaewhitley enough. The girl who showed me the light when I was a little sperm-eyebrow’d 14 year old. She sparked my interest in makeup and showed me how it can transform you. I cannot WAIT for this year!! Lots of exciting things are happening. I’m becoming a degree apprentice and I’m already planning my next YouTube vid!! Thank you everyone who follows me – all biddy 2000 of you hehe. I wanna make 2018 my year. A really busy, fun year! 💫💫